How to Set Up Mailchimp DNS in cPanel
Please note that the information in this guide is provided as a suggestion, and we can't provide detailed support for modifications to a Content Management System. If you require assistance with this, we'd recommend speaking to your website developer to ensure relevance and compatibility with your site.
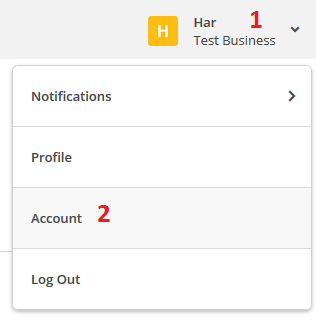
Step 1 - Log into Mailchimp then click on your name up the top, then Account.
Step 2 - Click on Settings then Verified Domains.

Step 3 - Click on the View setup instructions link:

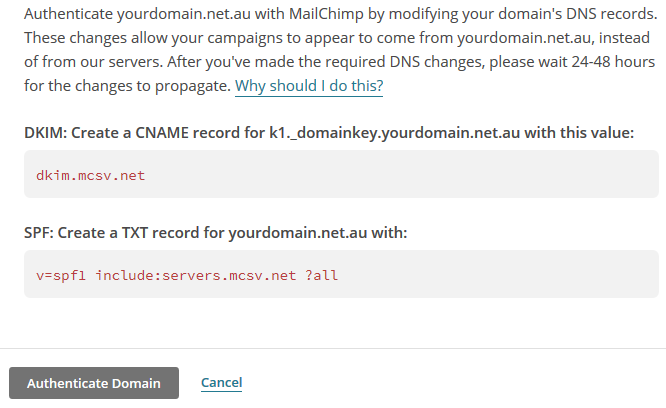
You will see a window that looks something like this:
Step 4 - Keep that window open, then open another window and log into cPanel.
Step 5 - Add a CNAME record for 'dkim.mcsv.net' using this guide.
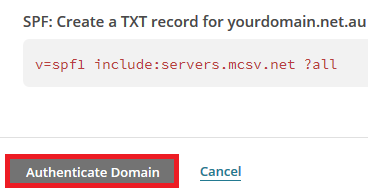
Step 6 - Include 'servers.mcsv.net' in your SPF record using this guide.
Step 7 - Go back into Mail Chimp. Note that the record can take up to 4hrs to propagate. Wait a little while and click Authenticate Domain every few minutes. Once the authentication is successful, you will be done.