Install WP Super Cache in WordPress
WARNING: If you're on a Web Hosting or Reseller plan, follow this guide to install the Litespeed Cache, as it's 3-5x faster than Super Cache. The Super Cache guide is only here for VPS and Dedicated Servers without Litespeed.Super Cache is a plugin for WordPress that speeds up your website, often making a night and day difference. To explain how it works, WordPress uses many little programs (called PHP scripts) to generate each page of your site. This happens every time a user visits any page. What Super Cache does is save each page into a normal HTML text document, so after a page has been visited once, Super Cache will tell WordPress what that page looks like, meaning all those PHP scripts don't have to run a second time to generate the same page for a different user.
Before you start, make sure that WordPress and all themes/plugins are updated (click here for a guide). Also, make sure that you have PHP updated to 5.6 or 7 (click here for a guide). PHP7 is preferred but some plugins and themes only run properly under 5.6 so if you notice any errors just go back to 5.6
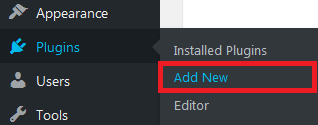
Step 1 - Log into WordPress then click on Plugins > Add New
Step 2 - Find and install the WP Super Cache plugin

Make sure to click Activate once the install is complete

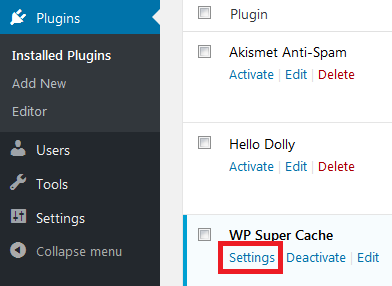
Step 3 - Click on Settings for the plugin
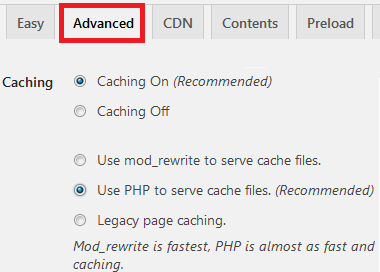
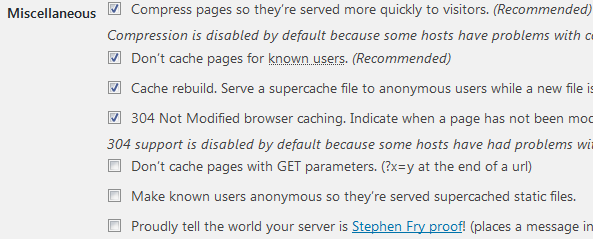
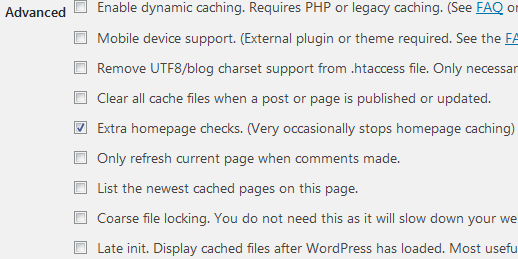
Now click on Advanced and make sure the following settings are used:
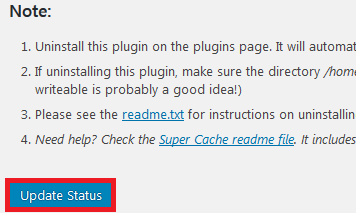
Make sure to click Update Status once you're done
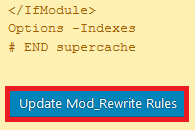
Then scroll down and click Update Mod_Rewrite Rules
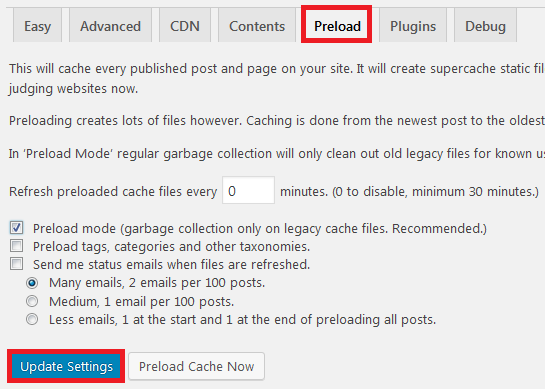
Step 4 - Click on Preload > set the options as per the image bellow > click on Update Settings
Congratulations! You now have WP Super Cache installed and configured on your hosting account.
